• Telsip Onboarding
    • Registering a New Company on Telsip
    • Logging in to Your Company Account
    • Subscribing to Telsip Plans
    • Payment & Activation
  • Telsip User Portal
    • Dashboard
    • Spark Management
    • DID Numbers
    • Billing & Payments
      • Subscriptions
      • Wallet
      • Orders
      • Payment History
      • Payment Cards
    • Company
    • Settings
    • User Profile
  • Telsip Mobile Application
    • Application Login
    • Phone
    • Calls
    • Connections
    • Voicemail
    • More Menu
      • Accounts
      • Settings
      • Change Language
      • About App
      • Call Telsip Support
      • Chat with Telsip Support
  • Telsip Cloud PBX
    • PBX V 1.X.X
      • Overview
        • Log in to the PBX
      • System
        • Authentication
          • Users
          • Groups
          • Permissions
        • Network
          • Network Host
          • Diagnostic Tools
        • Email
        • Security
          • IP Tables
          • Fail2ban
        • VPN
        • Maintenance
        • LDAP
      • PBX
        • Extensions
        • Trunks
        • Call controls
          • Inbound Routes
          • Outbound Routes
          • Time Conditions
          • Auto CLIP
        • Call Features
          • IVR
          • Ring Group
          • Queue
          • Paging/Intercom
          • Blacklist
        • Voice Prompts
        • Music On Hold
        • NAT
        • Status
        • CDR
        • Feature Code
        • Recording Storage
        • Transport
      • Event Center
        • Session Timeout
        • Activity Log
  • Telsip Cloud Call Center
    • Call Center V 1.X.X
      • Overview
        • Log in to the call center
      • Dashboard
        • Agent Insights
        • Inbound calls
        • Outbound calls
        • My Dashboard
      • Call Center Management
        • Missed Call Actions
          • Missed Calls Actions History
          • Missed Call Actions
          • Missed Calls Actions Logs
        • Type of Break
        • Widgets
        • CDRs
        • CDR Survey Questions
        • Queues
        • Queue Logs
        • Trunk
        • External Lookup
      • Contacts Management
        • Contacts
        • Contact Groups
        • Companies
        • Contact Custom fields
        • Customer Journey
      • Authentication
        • Users
          • Admin
          • Supervisor
          • Agent
        • Groups
        • Permissions
        • Add End User
      • Applications
        • Ticket Managements
          • Create Ticket
          • Categories
            • Sub Categories
          • Reminder Settings
          • Tickets List
          • Ticket Statistics
          • Tickets CCs
          • Follow Up
          • Notifications Templates
          • Custom Fields
          • Ticket Logs
        • SMS
          • SMS Message
          • Bulk SMS
          • SMS Templates
        • Email Management
          • Outgoing Emails
          • Incoming Emails
          • Attachments
          • Templates
          • Teams
        • Auto Dialer
          • Dial Teams
          • Auto Dialer Log
          • Auto Dialer Status
        • Web Chat
          • Dashboard
          • Offline Messages
          • Web Chat Logs
        • Queue Evaluation
          • Queues Evaluation Level
          • Queues Evaluation
        • Social Media
          • Social Media Teams
          • Social Media Sessions Tracker
          • WhatsApp
        • Agent Chat
      • Reports
        • Generate Reports
      • Settings
        • Site Administration
        • Email Settings
        • Email Channel Mailbox
        • Email Channel Outbox
        • Email Logger
        • Web Chat Settings
        • SMS Gateway
        • ODBC Settings
        • System Parameters
        • Updates
        • Web Phone Configuration
        • Web Logo Settings
        • End User Logo
      • Block
        • Blocked Word
        • Block Settings
      • Status
      • Session Control
      • Activity Log
  • Event Center
    • Session Timeout
    • Activity Log
  • Recording Storage
  • Transport
  • Applications
    • Ticket Managements
      • Categories
        • Sub Categories
      • Create Ticket
      • Tickets List
      • Reminder Settings
      • Dashboards
      • Ticket Statistics
      • Tickets CCs
      • Follow Up
      • Custom Fields
      • Notifications Templates
      • Ticket Logs
    • SMS
      • SMS Message
      • Bulk SMS
      • SMS Templates
    • Email Management
      • Outgoing Emails
      • Incoming Emails
      • Attachments
      • Templates
      • Teams
    • Auto Dialer
      • Dial Teams
      • Auto Dialer Log
      • Auto Dialer Status
    • Web Chat
      • Dashboard
      • Offline Messages
      • Web Chat Logs
    • Queue Evaluation
      • Queues Evaluation Level
      • Queues Evaluation
    • Social Media
      • Social Media Teams
      • Social Media Sessions Tracker
      • WhatsApp
    • Agent Chat
  • Reports
    • Generate Reports
  • Settings
    • Site Administration
    • Email Settings
    • Email Channel Mailbox
    • Email Channel Outbox
    • Email Logger
    • Web Chat Settings
    • SMS Gateway
    • ODBC Settings
    • System Parameters
    • Updates
    • Https Certification
    • Web Phone Configuration
    • Web Logo Settings
    • End User Logo
  • Block
    • Blocked Word
    • Block Settings
  • Status
  • Session Control
  • Activity Log

Registering a New Company on Telsip

61 views 0

Written by Telsip WikiAdmin
August 13, 2025

To access Telsip services and subscribe to any plan, you must first create a company account. Follow the steps below to complete the registration process:

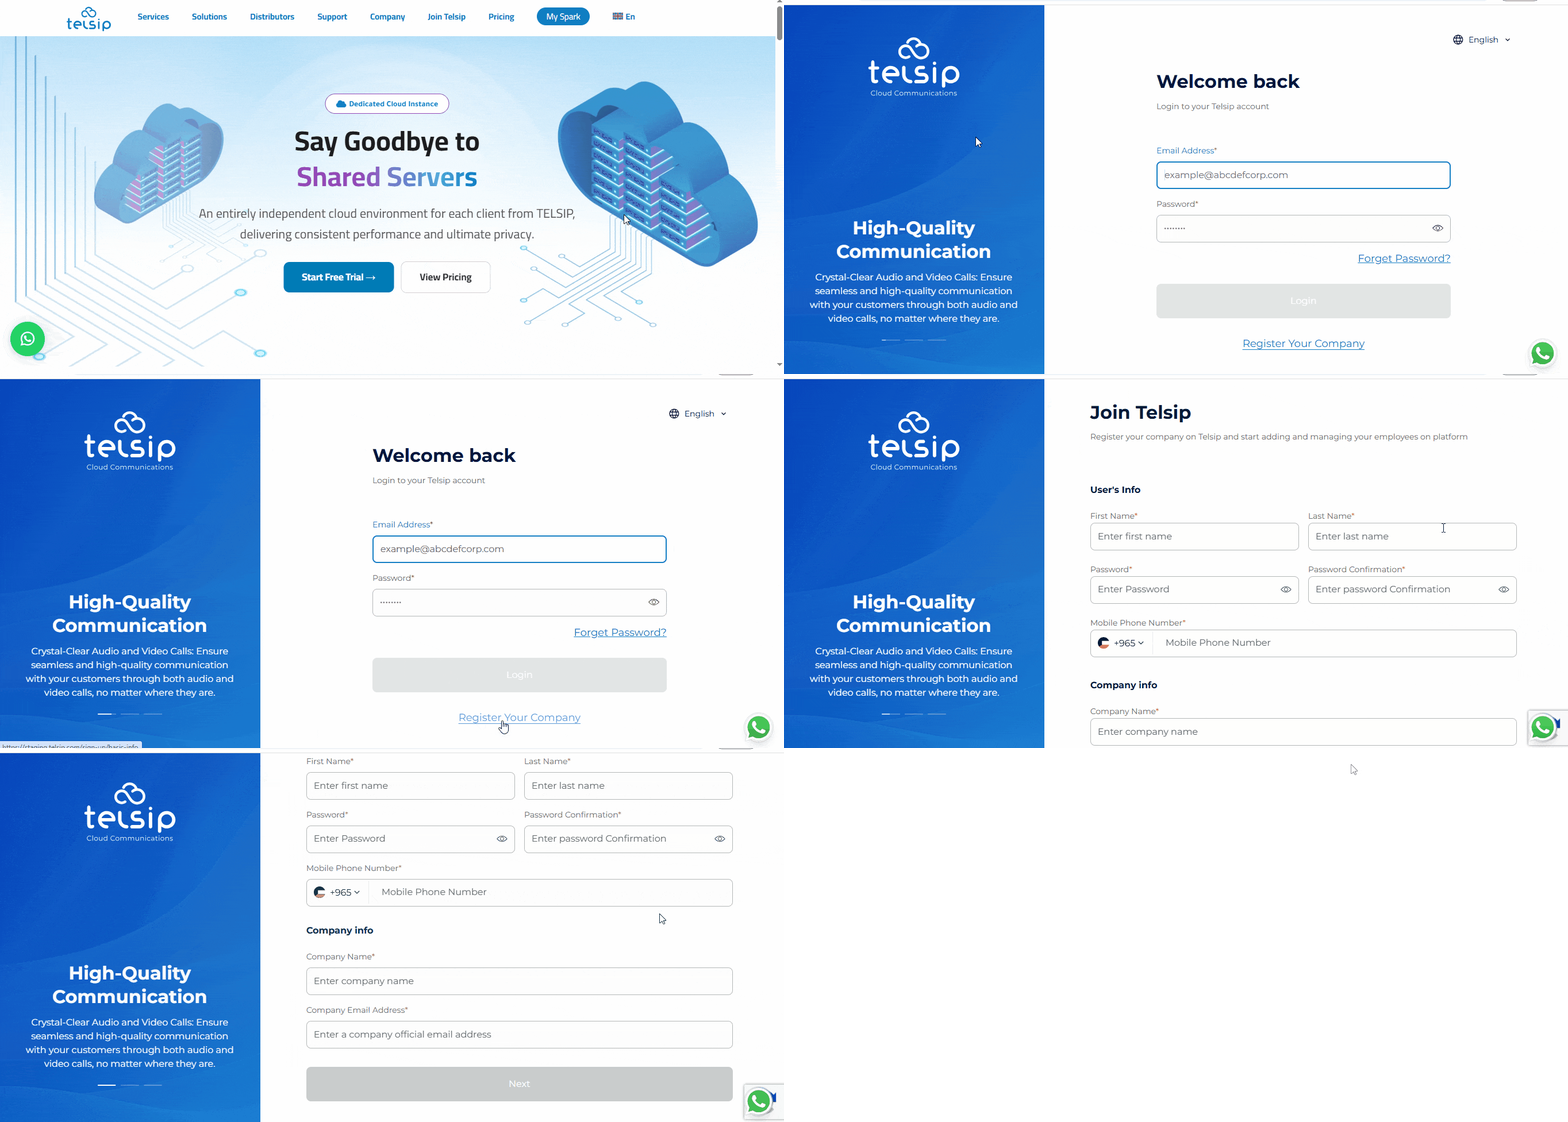
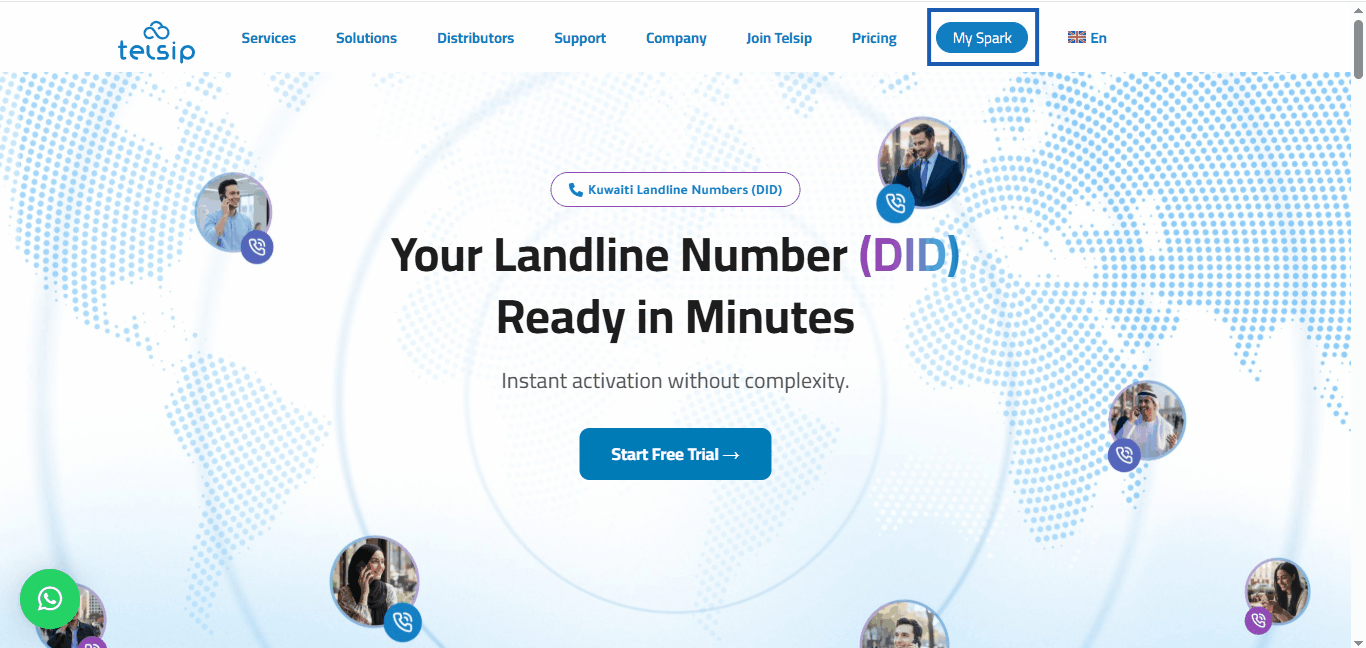
  • Go to Telsip website.
  • Click on My Spark to open the login page.
  • Select Register your company.
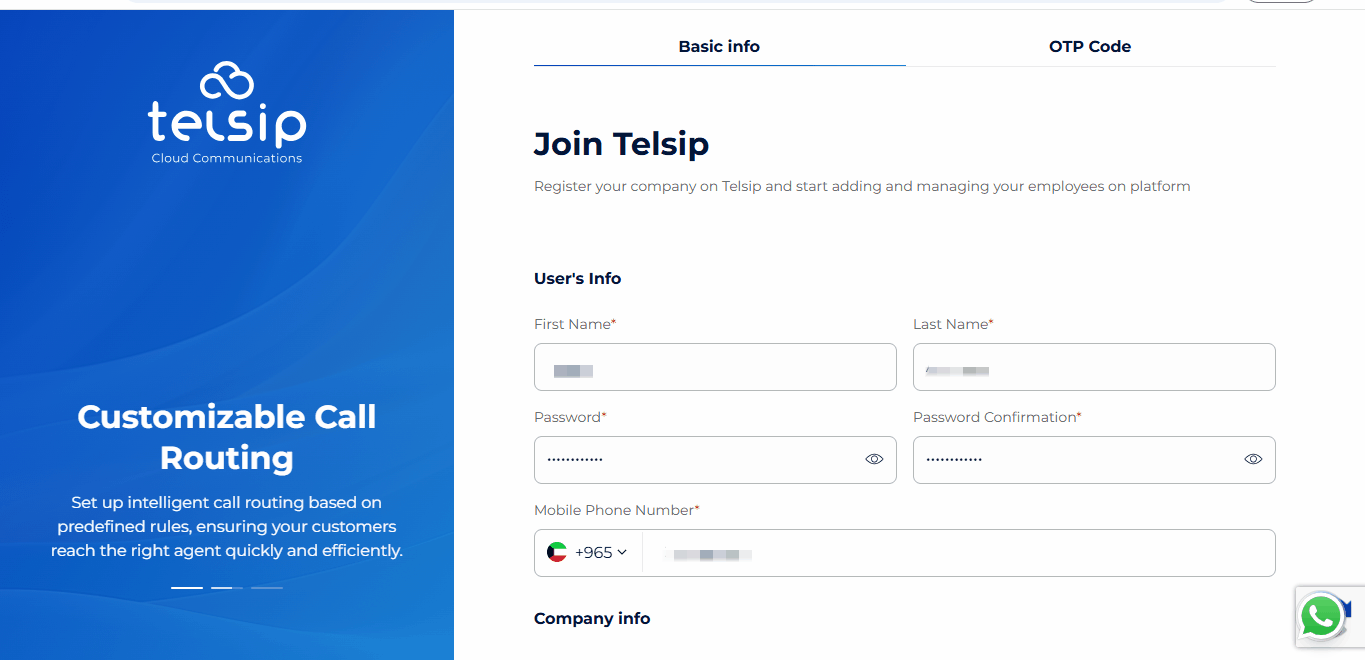
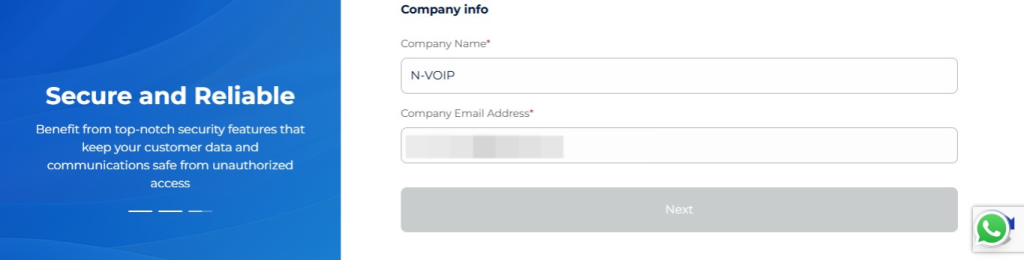
  • Fill in the required details:
    • Full name
    • Password for the company account
    • Email address
    • Company name
    • Mobile number
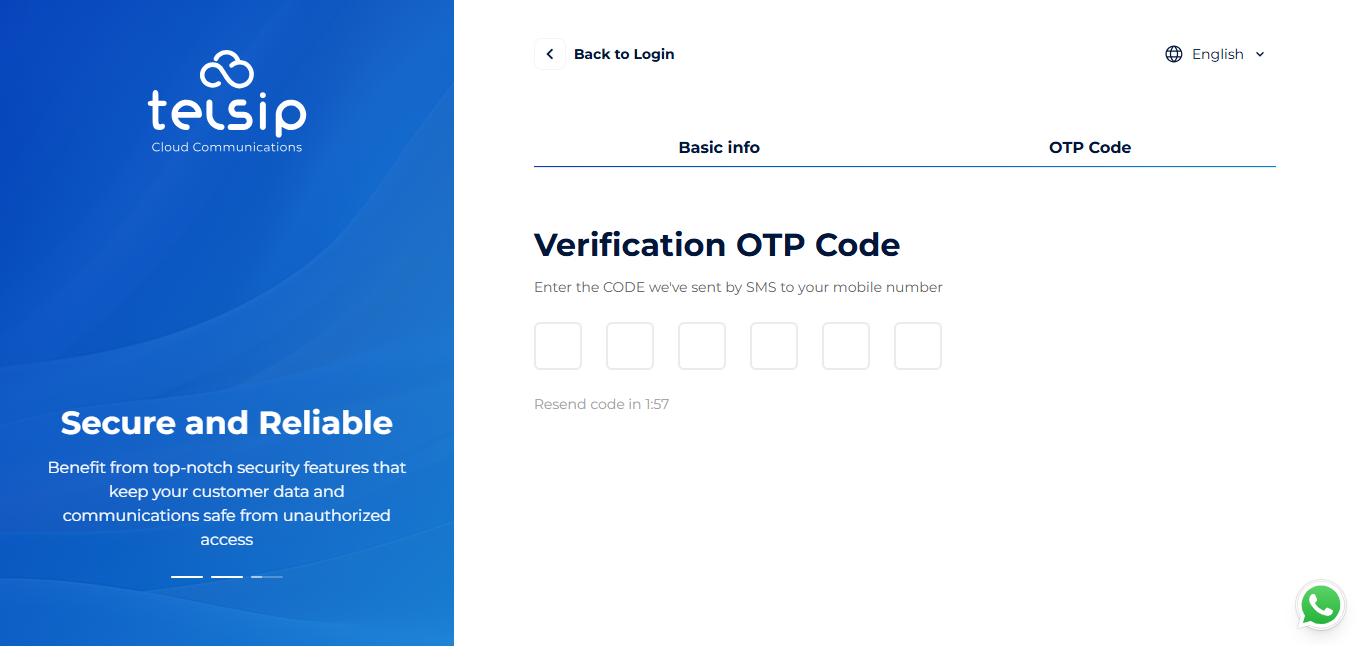
  • You will receive a One-Time Password (OTP) on your mobile number.
  • Enter the OTP to verify your registration.
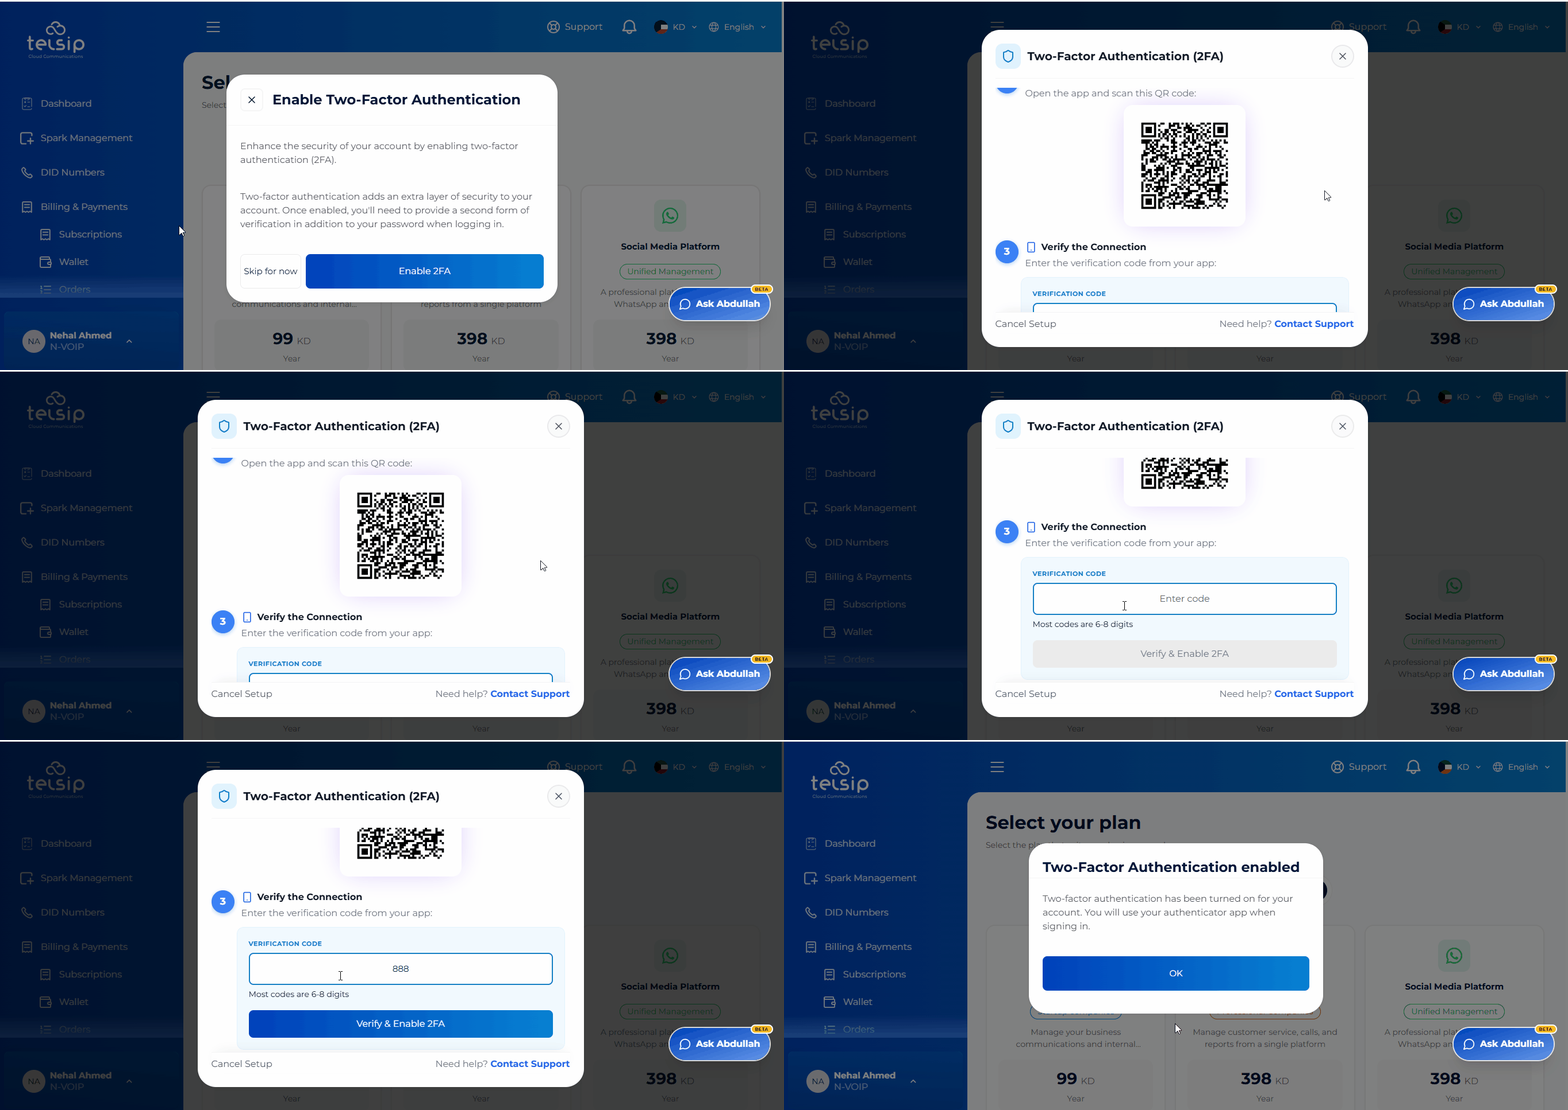
  • After logging in, you will be required to enable Two-Factor Authentication (2FA) for maximum security:
    • We highly recommend enabling 2FA, and you can use an authenticator app like Google Authenticator.
    • A QR code will be displayed; scan it using your authenticator app, then enter the generated code to activate the feature.
    • A new code will be required from the app every time you log in.

📌Note: Once 2FA is enabled, verification codes will no longer be sent via SMS to your phone number.
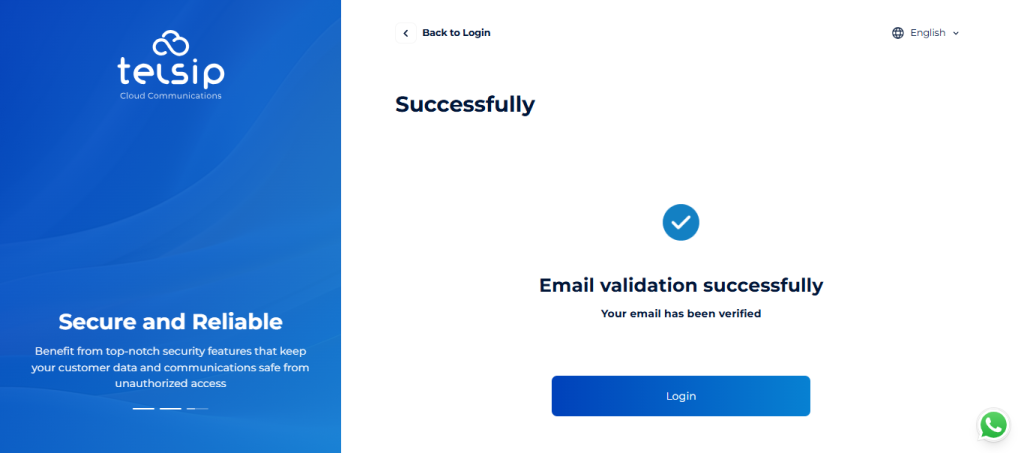
  • Next, you will be asked to verify your email address:
    • Check your inbox for the verification email.
    • Click the verification link to confirm your email, which will redirect you to the Telsip User Portal, confirming that your email has been successfully verified.
  • Once all these steps are completed, your company account will be ready, and you can start subscribing to our services.

Was this helpful?

Yes  No

Didn't find your answer? Contact Us

Previously
Telsip Onboarding
Up Next
Logging in to Your Company Account
Copyright 2026 telsip.com All Rights Reserved